How to Build a Custom Light-Up Brick Car: A Creative Guide for Kids and Families
Learn how to build a custom light-up brick car with step-by-step tips, LED lighting ideas, creative designs, and fun building activities for kids and families.
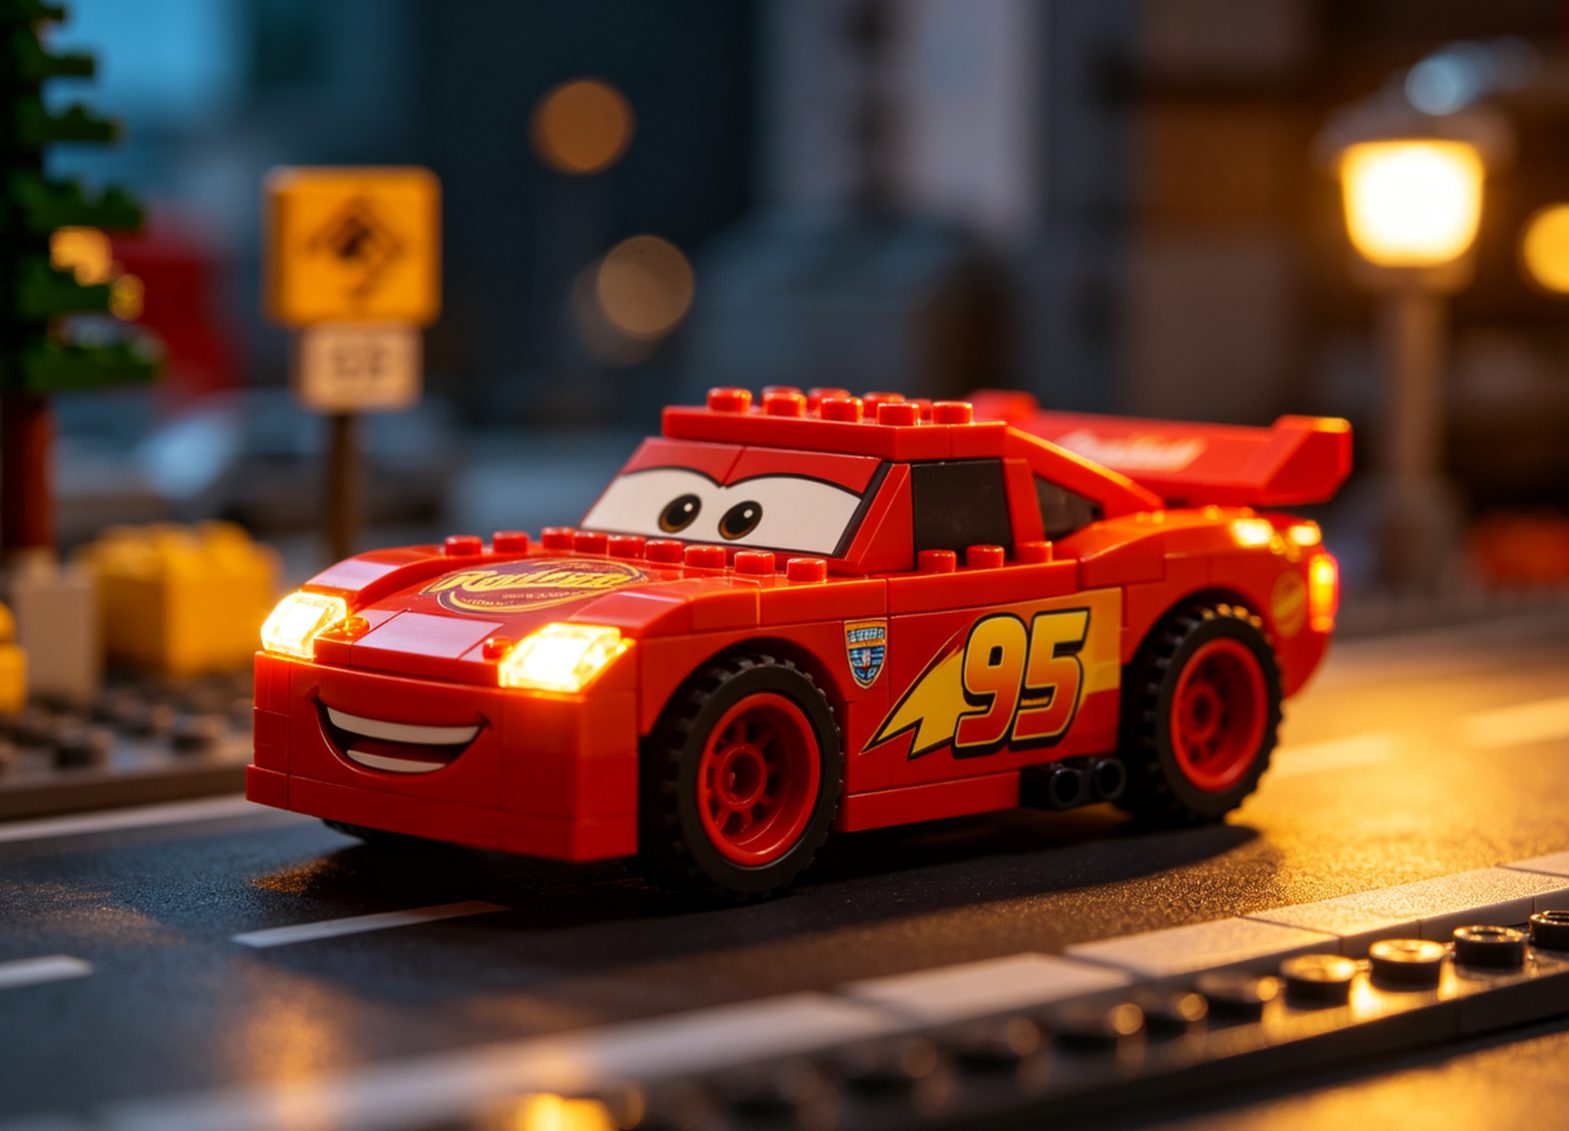
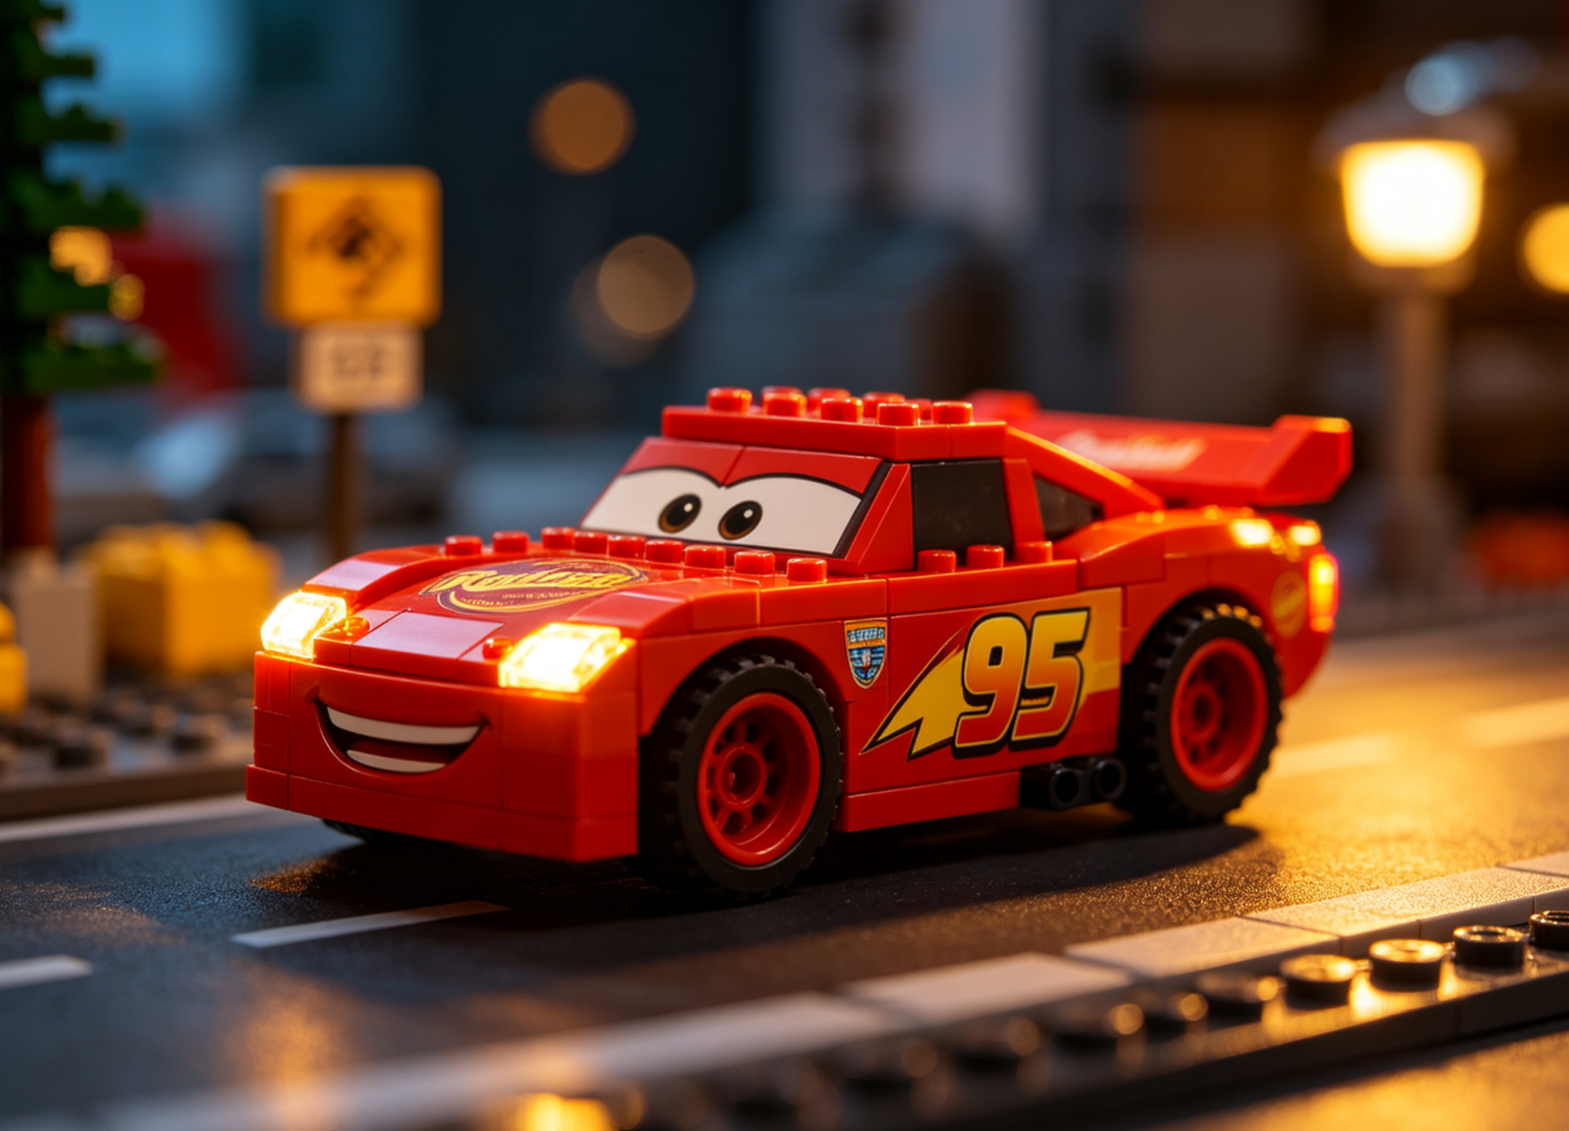
Building a car out of toy bricks is already exciting. But what if you could take that little vehicle one step further by adding working headlights, glowing details, and a design that looks completely different from anything in the instruction manual?
A custom light-up brick car combines hands-on construction, creative problem-solving, and a little engineering magic. It is also a fantastic weekend activity for parents and children who enjoy building things together.
Whether you are a beginner exploring cars on bricks, a parent searching for engaging bauspielzeug für kinder, or an experienced builder interested in experimenting with light lego designs, this guide will help you turn a simple brick vehicle into something much more personal.
You do not need an expensive workshop or professional engineering skills. With compatible building bricks, a suitable lighting kit, and a little patience, you can create a vehicle that looks impressive both in daylight and after dark.
Let's get started.
1. Why Build a Light-Up Brick Car Instead of a Regular Model?
A traditional brick-built car focuses mainly on shape, color, and mechanical details. You might spend an afternoon creating the bodywork, adjusting the wheels, and making the front grille look realistic.
Adding lights changes the entire experience.
Headlights can make the front of the vehicle look more authentic. Small red lights can represent rear lamps, while carefully positioned lighting inside the cabin creates an interesting display effect.
More importantly, building a light-up car encourages children and adults to think beyond the instructions.
For example, you might discover that a particular lighting component needs more space than expected. Perhaps the original roof design blocks the wires, or the front bumper needs to be redesigned to accommodate two headlights.
These small challenges create opportunities to experiment.
Here are four reasons why this project is worth trying:
Creative freedom: You can choose your own body shape, colors, lighting positions, and accessories rather than following a fixed design.
Practical problem-solving: Builders learn to consider space, balance, connections, and the relationship between different components.
Shared family time: Parents can help younger builders with planning and assembly while children contribute ideas and creative decisions.
Display potential: A finished illuminated vehicle makes an attractive addition to a bedroom shelf, desk, or brick collection.
If you are exploring different building styles, our guide to creative brick and block projects offers additional inspiration for turning ordinary building pieces into original creations.
2. Prepare the Right Materials Before You Start
A successful project begins with good preparation.
You do not need thousands of pieces to build a convincing vehicle. In fact, starting with a manageable collection of bricks makes it easier to concentrate on proportions and details.
Here is what you should prepare.
Essential Building Components
1. Basic building bricks
Collect standard bricks, plates, tiles, and small connecting elements. These will form the chassis, bodywork, and decorative sections.
If you already own compatible building blocks from different collections, check their dimensions and connection systems before mixing them.
2. A suitable vehicle base
A flat and stable base is essential. It should be wide enough to support the body and long enough to accommodate the front and rear sections.
For a beginner-friendly project, a compact sports car is a good choice because its structure is relatively simple.
3. Four wheels and axle components
Wheels determine how your vehicle sits and moves. Make sure they are properly aligned and have enough clearance to rotate without touching the bodywork.
4. Transparent pieces
Clear bricks or transparent tiles can represent windows, windshields, and headlight covers.
They also help create a cleaner appearance when lighting elements are installed behind them.
5. Lighting components
For an illuminated model, prepare a compatible low-voltage LED lighting kit.
Depending on the design, you may need:
- Two white LEDs for front headlights.
- Two red LEDs for rear lights.
- A compact power source.
- Suitable connecting wires.
- A compatible switch or controller.
A Simple Project Planning Table
| Component | Purpose | Priority | |---|---|---| | Base plates | Main chassis | Essential | | Standard bricks | Vehicle body | Essential | | Wheels and axles | Movement | Essential | | Transparent pieces | Windows and lights | Recommended | | White LEDs | Front headlights | Optional | | Red LEDs | Rear lights | Optional | | Decorative tiles | Styling details | Optional |
One useful tip: sort your pieces before building.
Separate them by color, shape, and approximate size. This saves time later, especially when you need to make small adjustments around the headlights or wheel arches.
3. Choose a Car Design That Matches Your Skill Level
Before assembling anything, decide what kind of vehicle you want to create.
A common mistake is choosing an extremely complicated supercar as the first project. It may look impressive in pictures, but complex curves, low bodywork, and intricate mechanical details can make the building process frustrating.
Start with a design that gives you room to experiment.
Option A: A Classic Sports Car
A classic sports car is an excellent beginner project.
Its main characteristics include:
- A long front section.
- A relatively low roof.
- Two side doors.
- Four visible wheels.
- A simple rear section.
Option B: A Modern Supercar
If you have already built several brick vehicles, try a modern supercar.
Think about angular bodywork, a low front bumper, side air intakes, and a wide rear section.
The challenge is maintaining a balanced appearance while leaving enough room for lighting components.
Option C: A Family City Car
For younger builders, a small city car can be more practical.
Use a compact chassis, a taller cabin, and bright colors. You can also add a small luggage area or decorative roof elements.
This design works particularly well for family building activities because children can easily personalize the vehicle.
Option D: A Custom Racing Car
Experienced builders might prefer a racing-inspired model.
Add a rear spoiler, racing stripes, side details, and a more aggressive front bumper.
You can even design different lighting arrangements for a fictional racing team.
The important thing is to choose a project that matches your current abilities. A successful small model is often more satisfying than an unfinished complicated one.
4. Step-by-Step: How to Build the Car Chassis
Now comes the actual construction.
The chassis is the foundation of the entire vehicle. If it is uneven or unstable, the finished model may look awkward or struggle to roll properly.
Take your time with this stage.
Step 1: Create a Stable Base
Start with a rectangular arrangement of plates.
For a small model, a base approximately 6 to 8 studs wide and 14 to 18 studs long can provide a useful starting point. These are suggested dimensions rather than strict requirements.
Your exact measurements will depend on the wheel size and the proportions of your chosen design.
Check that the base is:
- Straight and symmetrical.
- Strong enough to support the body.
- Wide enough for the wheels.
- Long enough for the front and rear sections.
Step 2: Install the Axles and Wheels
Position the front and rear axles underneath the chassis.
Leave sufficient clearance between the wheels and the surrounding bodywork.
A simple test is to turn the model upside down and rotate each wheel manually.
If one wheel catches against a plate or brick, adjust the position before moving forward.
This is a small detail, but it makes a noticeable difference to the finished vehicle.
Step 3: Build the Lower Body
Add bricks along the sides of the chassis.
This creates the lower bodywork and provides a foundation for the doors and front bumper.
Try to keep both sides symmetrical.
You can use contrasting colors to create a visual separation between the lower section and the upper body.
For example, a dark lower section combined with a bright red, blue, or yellow upper body can give the car a sporty appearance.
Step 4: Reinforce the Structure
Before adding decorative pieces, check the strength of the base.
Gently hold the model at both ends and see whether the central section remains stable.
If the chassis bends or separates easily, add overlapping plates or additional connecting bricks.
A solid structure is particularly important when the finished car will be handled frequently.
5. How to Build Realistic Car Details
A vehicle can have four wheels and still look like a collection of random bricks.
The difference between a basic toy car and an attractive display model often comes down to proportions and small details.
Here are several techniques worth trying.
Create a Recognizable Front Section
The front of a car is one of its most recognizable features.
Use a combination of slopes, curved pieces, and tiles to create a hood that gradually narrows toward the bumper.
For a classic design, use a simple grille and two circular headlights.
For a modern vehicle, experiment with narrow headlights and angular bumper details.
Avoid adding too many decorative elements. A clean design often looks more realistic than one covered in unnecessary pieces.
Design the Windshield and Roof
Transparent sloped pieces are useful for creating a windshield.
Try to angle the windshield slightly rather than placing it vertically. This gives the vehicle a more natural silhouette.
The roof should connect smoothly with the windshield and rear section.
If your model has a removable roof, make sure the connection points are secure enough to withstand repeated handling.
Add Side Mirrors and Door Details
Small details can make a surprisingly large difference.
Try adding:
- Small side mirrors.
- Door handles.
- Side skirts.
- Decorative air vents.
- Contrasting door panels.
Finish the Rear Section
The rear of the vehicle deserves as much attention as the front.
Add red transparent pieces for the tail lights, a simple bumper, and a license plate area.
A small rear spoiler can work well on sports cars and racing vehicles.
For a more realistic appearance, keep the rear section proportional to the rest of the model.
6. How to Add LED Lights to Your Brick Car
This is where the project becomes especially interesting.
Adding lights is not simply about placing LEDs anywhere that looks attractive. You need to think about their position, visibility, cable routing, and access to the power source.
A well-planned light lego project combines lighting with the original structure rather than treating electronics as an afterthought.
Step 1: Plan the Lighting Layout
Before attaching any lighting components, decide which areas should illuminate.
A beginner-friendly layout includes:
| Lighting Position | Suggested Color | Visual Effect | |---|---|---| | Front headlights | White | Realistic front lighting | | Rear lights | Red | Vehicle tail-light effect | | Interior | Warm white | Cabin illumination | | Underside | Optional accent color | Display effect |
You do not need to install every type of light.
Two front headlights and two rear lights are already enough to transform a basic vehicle.
Step 2: Identify the Available Space
Look inside the model and identify where the LEDs, wires, and power components can fit.
This is why it is useful to plan lighting before completing the roof.
For example, a compact LED may fit behind a transparent headlight piece, while its wire can run along the inside of the hood.
Try to avoid placing wires where they might interfere with the wheels, axles, or removable body sections.
Step 3: Install the Front Headlights
Position one white LED behind each transparent headlight element.
The light source should face outward rather than directly into the bodywork.
If the light appears too dim, check whether surrounding bricks are blocking it.
A small adjustment to the position of the transparent pieces can improve the result.
Step 4: Add the Rear Lights
Use red transparent pieces at the rear of the vehicle.
Install the lighting components behind them, following the lighting kit's instructions.
Keep both sides at approximately the same height to maintain a symmetrical appearance.
Step 5: Organize the Wiring
Neat wiring is essential.
Loose cables can make the interior difficult to close and may become trapped when you attach the roof.
Route wires through available spaces and use suitable cable-management accessories where provided.
Never force a wire between tightly connected bricks if doing so could damage its insulation.
Step 6: Test Before Closing the Model
This is one of the most important steps.
Connect the lighting system according to the manufacturer's instructions and test every light before completing the bodywork.
Check that:
- Both headlights work.
- Both rear lights illuminate.
- No wires are pinched.
- The power source is secure.
- The switch remains accessible.
For children, an adult should supervise the installation, battery handling, and electrical connections.
7. Make Your Car Look Better with Simple Customization Tricks
Once the structure and lighting are complete, it is time to add personality.
This is where cars on bricks become particularly interesting for collectors and creative builders.
Two people can start with exactly the same basic vehicle and finish with completely different models.
Here are five customization ideas.
Idea 1: Choose a Distinctive Color Scheme
Instead of using random colors, select a consistent combination.
Some attractive examples include:
- Red and black for a sporty appearance.
- White and silver for a clean modern design.
- Blue and dark grey for a futuristic vehicle.
- Yellow and black for a racing-inspired look.
- Green and white for a fresh city-car design.
This makes the model look intentional rather than visually crowded.
Idea 2: Create a Racing Identity
Give your vehicle a fictional racing team identity.
Add a number on the hood, decorative stripes along the sides, and a small rear spoiler.
Children can even invent a team name and design matching vehicles for a pretend championship.
This turns a simple building activity into a storytelling experience.
Idea 3: Experiment with Transparent Pieces
Transparent bricks are not limited to headlights.
They can also represent:
- Windshields.
- Side windows.
- Sunroofs.
- Interior display panels.
- Decorative light strips.
Idea 4: Build a Small Display Environment
A car looks even more impressive when it has somewhere to go.
Create a small road section using dark grey plates, white lane markings, and a few street accessories.
You could also build a garage with a removable roof or a miniature charging station.
This is an excellent way to expand a single vehicle project into a larger creative scene.
Idea 5: Take Before-and-After Photos
Photography is a fun way to document the project.
Take one picture before installing the lights and another in a darker environment after the lighting system is complete.
Use a simple background and avoid excessive camera effects.
For family projects, keeping these photographs creates a record of how building skills improve over time.
8. How Building Brick Toys Support Children's Learning
Building a custom vehicle is not only about the finished model.
The process itself offers opportunities to develop practical skills.
This is one reason why parents continue to choose construction toys as part of children's playtime.
Well-designed bauspielzeug für kinder encourages children to experiment, observe, and make decisions while working toward a clear goal.
Spatial Awareness
Children need to understand how individual pieces fit together in three-dimensional space.
When building a car, they learn to think about height, width, length, symmetry, and the relationship between different components.
Problem-Solving
A wheel might not rotate correctly. A roof may not fit. A headlight could be positioned too far inside the body.
These are small problems, but solving them encourages children to test ideas rather than immediately give up.
Patience and Planning
A finished model rarely appears in one step.
Children learn that complicated projects require preparation, organization, and attention to detail.
Completing one section before moving to the next can also help them develop a more structured approach to tasks.
Creative Expression
Perhaps the most valuable benefit is the opportunity to make something personal.
A child can choose the vehicle's colors, invent a fictional brand, and decide whether the finished car is a racing machine, family vehicle, or futuristic transport concept.
There is no single correct answer.
Parent-Child Collaboration
Parents can support younger builders by asking open-ended questions:
- Why did you choose this shape?
- What could make the car stronger?
- Where should the headlights go?
- How could we make the wheels turn more freely?
When choosing construction toys, always check the recommended age range, small-part warnings, and relevant safety information. For younger children, select age-appropriate products and supervise play as necessary.
9. Common Mistakes to Avoid When Building Light-Up Cars
Even experienced builders encounter problems when combining structural building with electronics.
Fortunately, most mistakes are easy to prevent.
Mistake 1: Adding Lights Too Late
If you complete the entire vehicle before thinking about lighting, you may discover that there is no room for the wires or power source.
Better approach: Plan the lighting layout during the chassis and body-design stages.
Mistake 2: Making the Body Too Heavy
Adding too many decorative bricks can affect the vehicle's balance and appearance.
Better approach: Keep the lower structure strong but avoid unnecessary layers of bricks.
Mistake 3: Ignoring Wheel Clearance
A vehicle might look perfect from above but fail to roll smoothly.
Better approach: Test the wheels after installing the chassis and again after adding the lower bodywork.
Mistake 4: Using Too Many Colors
Too many contrasting colors can make a model look unfinished.
Better approach: Choose a primary color and build the rest of the design around it.
Mistake 5: Hiding the Power Switch
A beautifully finished vehicle is frustrating to operate if the switch is inaccessible.
Better approach: Reserve a small, convenient space for the power control during the planning stage.
Mistake 6: Forcing Incompatible Components
Not every lighting component or building piece will fit every design.
Better approach: Check compatibility, dimensions, and manufacturer instructions before assembly.
10. How to Choose the Right Building Set for Your Next Project
Once you have completed your first light-up vehicle, you may want to explore more advanced models.
Choosing the right set can make a big difference to the building experience.
Rather than focusing only on the number of pieces, consider the following factors.
Look at the Difficulty Level
Beginners should prioritize clear instructions and manageable construction techniques.
More experienced builders may enjoy complex vehicle structures, mechanical details, and larger display models.
Check Piece Compatibility
If you plan to combine different collections, verify that the building elements use compatible dimensions and connection systems.
Do not assume that every product advertised as a brick-building toy will fit every existing collection.
Consider the Quality of the Components
Look for consistent molding, clean edges, and reliable connections.
Poorly fitting pieces can make a project unnecessarily difficult.
Think About the Intended Use
Is the model intended for everyday play, occasional creative projects, or display?
A vehicle designed primarily for display may prioritize visual details, while a model intended for frequent handling needs a particularly stable structure.
Explore Different Themes
Cars are only the beginning.
You can expand your collection with city buildings, garages, construction vehicles, aircraft, and mechanical models.
For more ideas, take a look at our guide to choosing high-quality building block toys.
You can also explore the CraftBlockWorld alternative building block guide to learn more about material quality, compatibility, and choosing suitable building sets.
11. Take Your Next Building Project Further
Your first illuminated car does not have to be the end of the journey.
Once you understand how to combine a stable chassis, detailed bodywork, and simple lighting, you can experiment with more ambitious ideas.
Try building a matching pair of vehicles with different lighting colors. Create a miniature city street with illuminated buildings. Design a racing garage with removable roof sections and a small service area.
You could even organize a family building challenge where everyone receives a similar collection of pieces but creates a completely different vehicle.
The best part of construction toys is that the possibilities are not limited to the original instructions.
At CraftBlockWorld, we believe building should be about exploration as much as assembly. Whether you are discovering alternative brick sets, creating your own vehicle designs, or introducing children to hands-on construction, every project offers another opportunity to learn something new.
Start with a simple car, experiment with a few lights, and see where your imagination takes you.
Sometimes, the most memorable build is not the biggest or most complicated one. It is the one you designed yourself.
Frequently Asked Questions
1. What Do I Need to Build a Light-Up Brick Car?
You need compatible building bricks, a stable vehicle base, four wheels, transparent pieces, and a suitable LED lighting kit. A basic project can use just two front headlights and two rear lights. More advanced models can include interior illumination and decorative lighting.
2. Can I Add LED Lights to Existing Brick Car Models?
Yes, many existing brick-built vehicles can be upgraded with compatible LED lighting kits. However, you should check the available interior space, cable routing, and compatibility of the lighting components before installation. Some models may require minor structural adjustments.
3. Are Brick-Building Cars Suitable for Children?
Yes, age-appropriate building car sets can provide an enjoyable hands-on activity for children. They encourage creativity, spatial awareness, and problem-solving. Always check the manufacturer's recommended age range and supervise younger children, particularly when small parts or electronic components are involved.
4. What Is the Difference Between Regular Building Bricks and Light LEGO-Style Sets?
Regular building bricks are primarily designed for structural construction and creative play. Light-up sets add LED components that illuminate selected areas of a model. They offer an additional visual element, making vehicles and other display models more attractive, especially in low-light environments.
5. Can I Combine Different Compatible Building Block Brands?
Some building block brands use compatible connection dimensions, allowing builders to combine pieces from different collections. However, compatibility can vary between products and manufacturers. It is always best to check the specifications and test a small number of pieces before starting a large mixed-brand project.
Start Building Something Different with CraftBlockWorld!
Discover creative building possibilities, explore alternative brick collections, and turn your next idea into a model worth displaying.